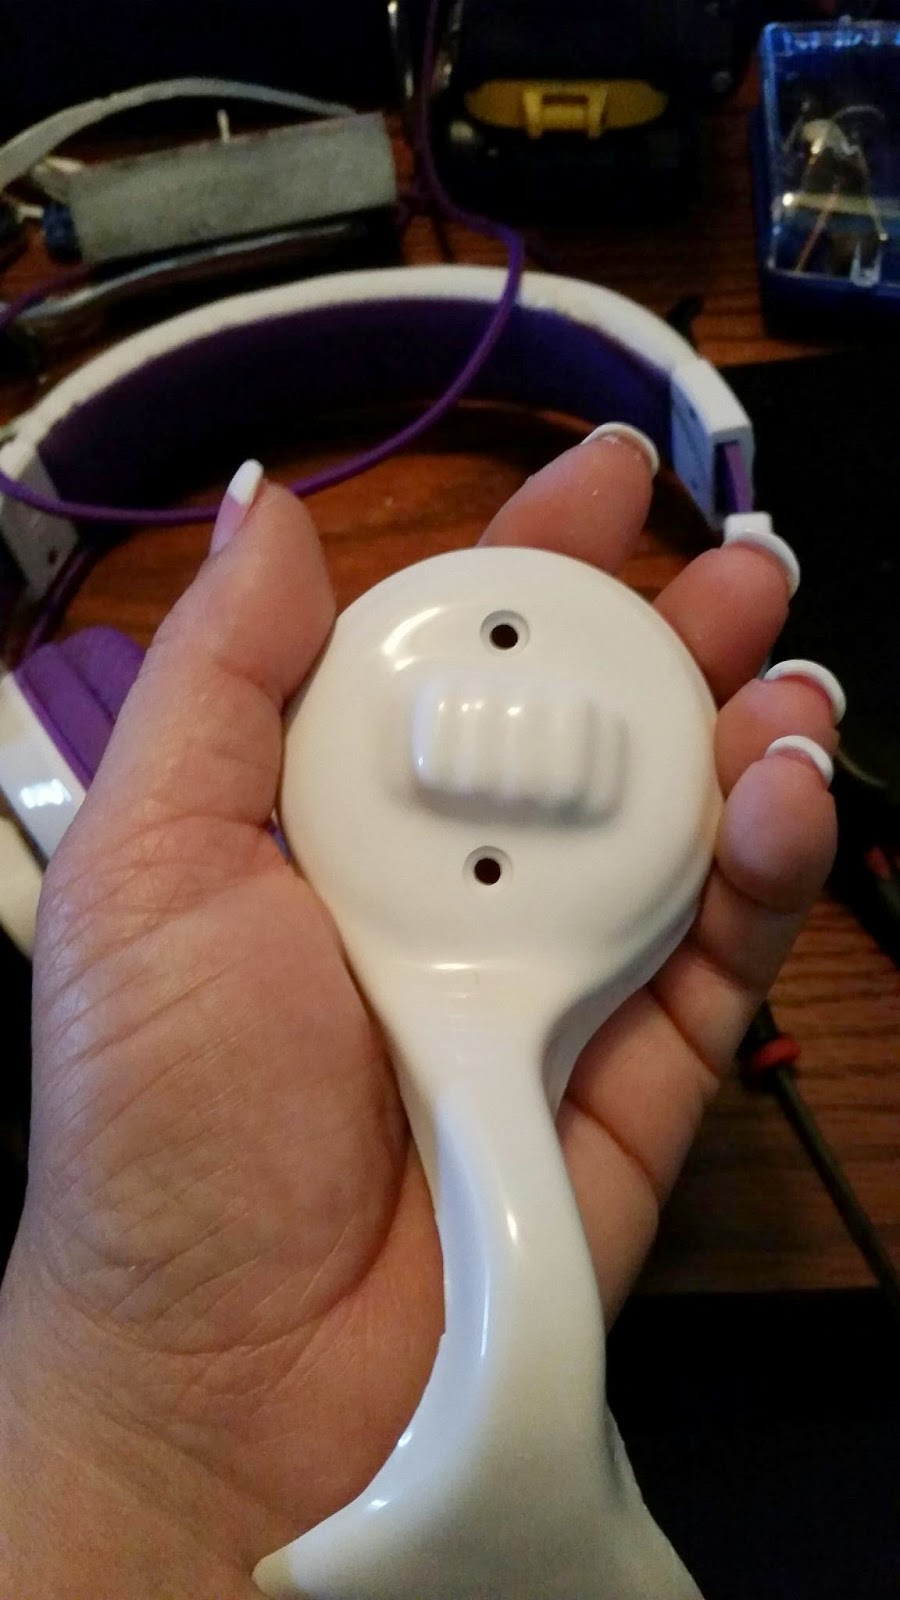
I believe after these things testing me, I will have liver with some fava beans and a nice chianti.
The calves were about to go in the hole and get the hose again.
So I cut them.
And realized
THEY
WERE
INCORRECTLY
ASSEMBLED
All the pain and agony I went through was because of this!!!!!!
[url]https://youtu.be/wNFMPhKIZXg[/url]
I couldn't shim the back because they were too curvy and too wide for a strip.
Now I can resculpt the front and put a strip on the back and they will be fine.
In theory. I should say.
So far so good:
Stage 1:

I glued the strips to one side of each set. Magnets and clamps holding together.
when I get home I'll gluing the other sides and transferring clamps and magnets.
tomorrow morning I'm going to form the cover panels to resculpt the gap.
I may do hook closures on the back but for now I'm using a cover strip with velcro.

Trimmed. Removing the super glue from both outside halves where the sniper plate was glued.

Strips of sign inserted and white hot glue applied to fill gaps.
Next will be the finishing cover and crack filling.

I have a level playing field now:

Beginning acrylic sculpting:

More sculpting.
Side note: acrylic liquid attracts flying insects.

I have one more side to fill before sanding and shaping.
Every time I go to the door, I hear thunder, so I stopped.
I got my old Sony Smartwatch v.1 to work on my S5 so I can take my own remote pics!!

I walked around the house and up the stairs. I put on the thighs also--no pics: NSFW
(notsafeforworld, shorts had to come off LOL).
The calves fit. The velcro from past attempts, still on the back, will be removed later (before I paint). The part unseen will remain, it is the closure. I decided to not do hook elastic closures.

The fronts are formed and resculpted. I used clear acrylic to fill gaps and smooth the old raised center. I used white acrylic to reshape the top detail. 

Sally Beauty has a B2G1 sale on Beauty Secrets brand powder and liquid. 

Sanding, prepping, painting pics coming. Sniper plate mounting to follow.

Sanded more. Touched up (just like when you sand Bondo, you find dips and have to fill in.
Heated the sniper plate to resize, then gluing. Now I'm waiting on glue to dry, and acrylic to dry.
I have cover strips waiting in the wings.

Sanded, and as far as I can see...no craters. I'm going to primer them and see if I'm correct.
Currently, they are hanging to dry. I washed them after sanding.
Where is the sniper plate, you ask?
Why are there holes in one leg??
Shhhh. In time you will be told.
NO, rivets are NOT the answer.

Primer applied, now I see where I need to sand or fill.
Back to sanding once dry.

Primer has been sanded, only a few spots need fill. Will use a wire brush to remove primer from 'craters' then fill again, sand, primer...rinse repeat.


Wet primer...when this dries one more pass with 120 and 240, then primer again.

My back has thrown in the towel.
I can no longer grip my hands, stand, sit, or raise my arms to sand one more time without going into some twiching siezure.
These are the legs I'm going to paint.
I'm sick of the sight of white.

Gloss white, 3rd light coat. Letting it set for a few days. Clear coat next.

For some reason, the ipad pictures disappear when I edit with the android.
here is the final paint and shine of the left leg.


After I returned from SWW, I tried to wear everything but I had a bit of a problem with the left leg sniper plate pinching my knee and going behind the thigh. I tried foam in the thigh and got no fix. Actually, I got a few blood blisters from the pinch.

I heated the plate while in place on the leg. It moved out far enough and I added some foam for my whacked kneecap.

No pinch...No stink...No sweat.